|
I created this sterling silver bracelet for a friend. Using UV light cured enamel and a leather NATO style watch band. Utilizing the leter style of the company, I modeled the piece using CAD software. 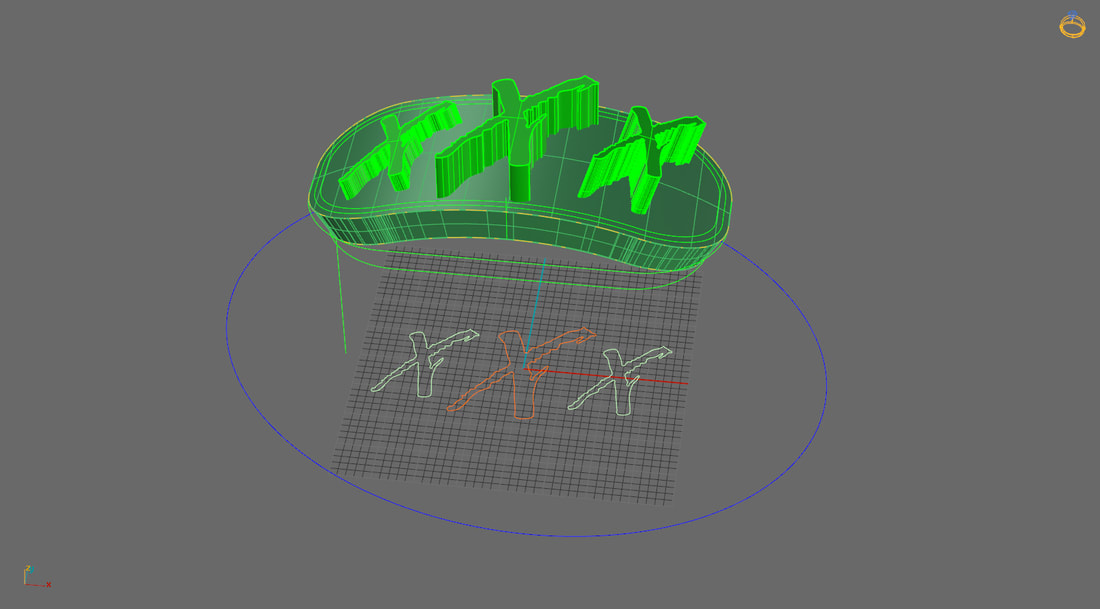 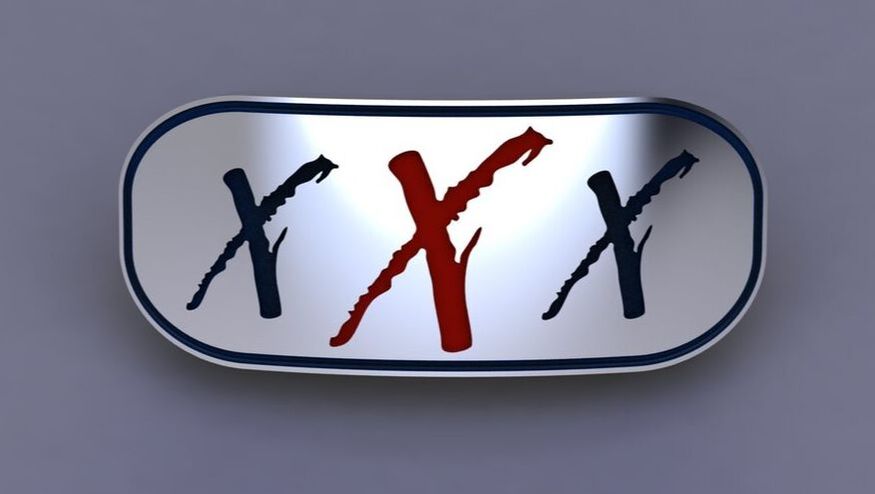
0 Comments
Inspired by Tiffany and Co, this ring was commisioned by the owner of the Aquamairne. Over 300 diamonds were added by hand to the 14KW mounting. The wax image is what was used to cast the ring. All the stones and detail were added after casting the piece solid.
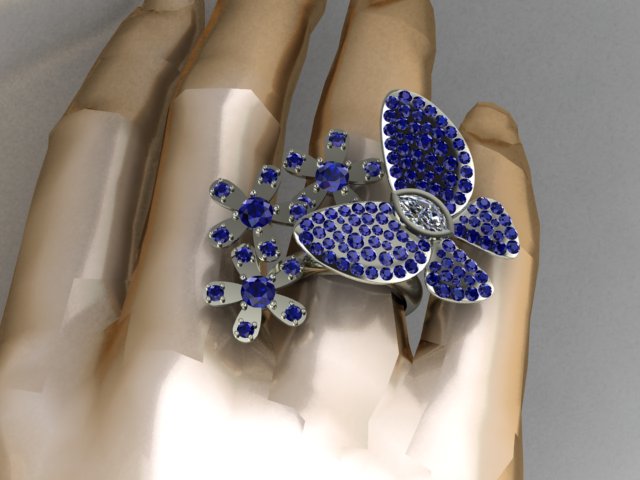
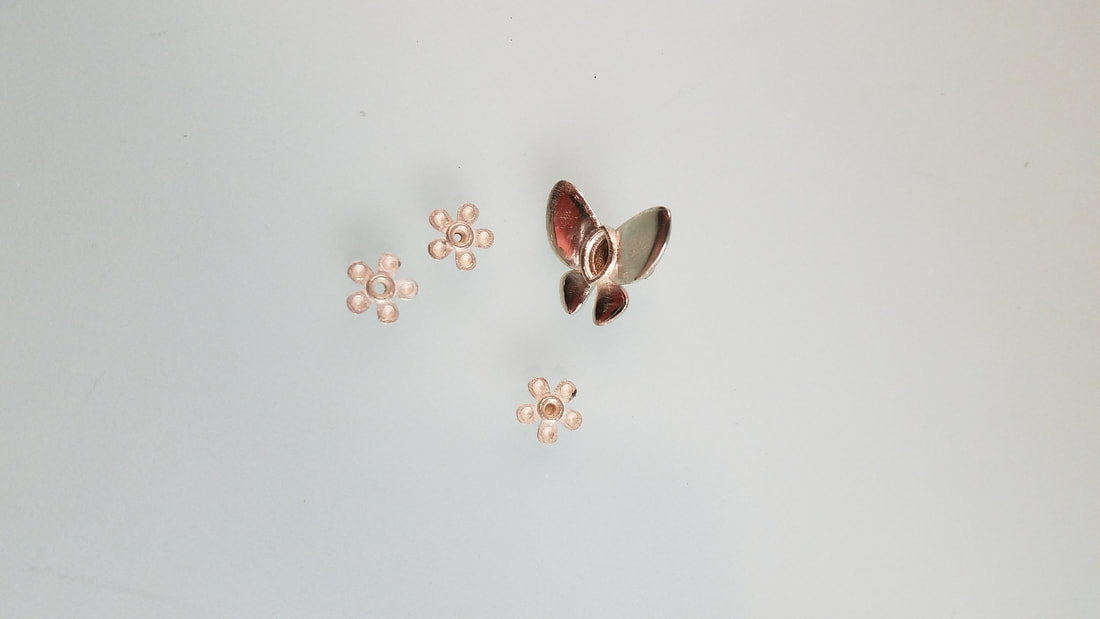
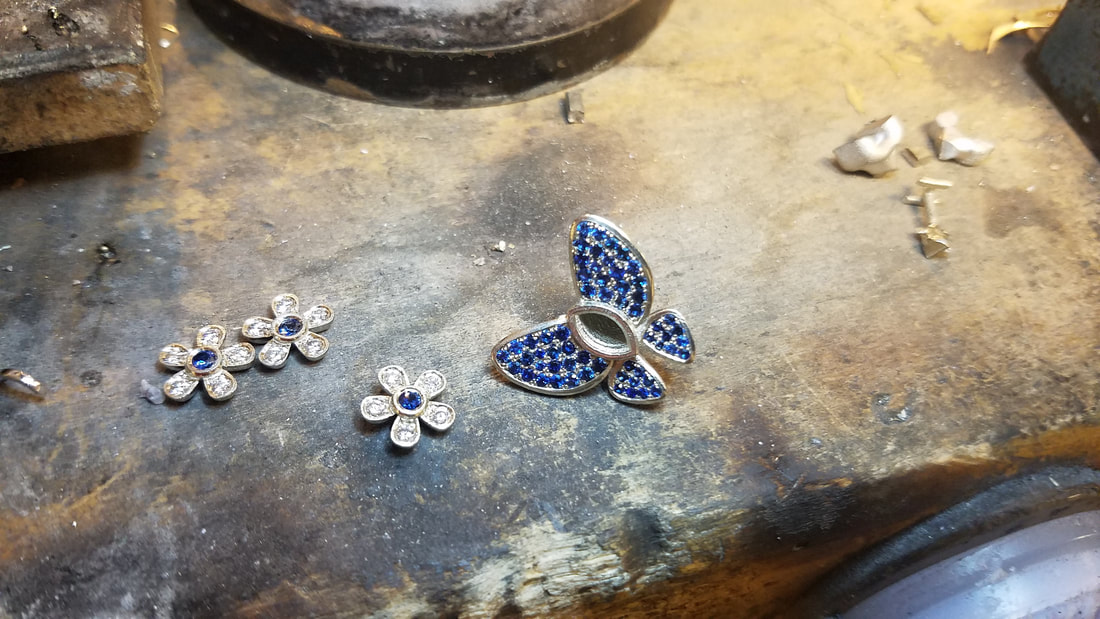
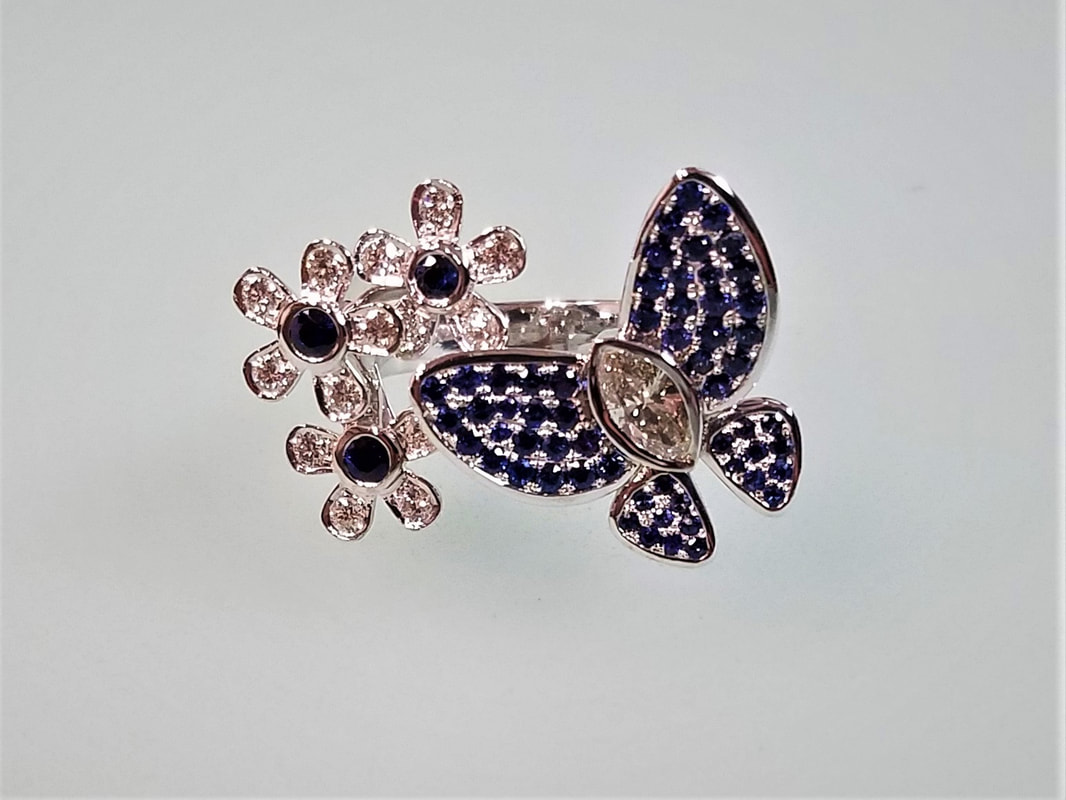
From a quick sketch from the customer, I created the CAD (Computer Aided Design) image shown first for approval. From there, the file was made into the parts of the ring. Stones set and assembled, the final ring is shown complete. 14K White gold with Diamonds and Sapphires!
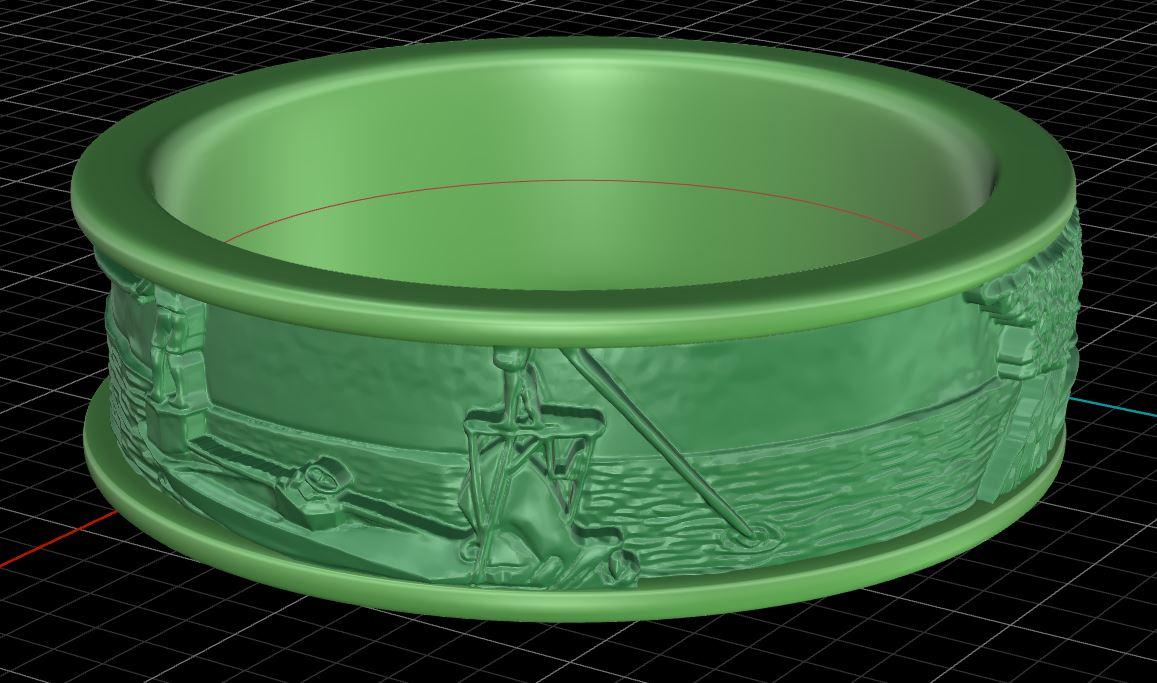
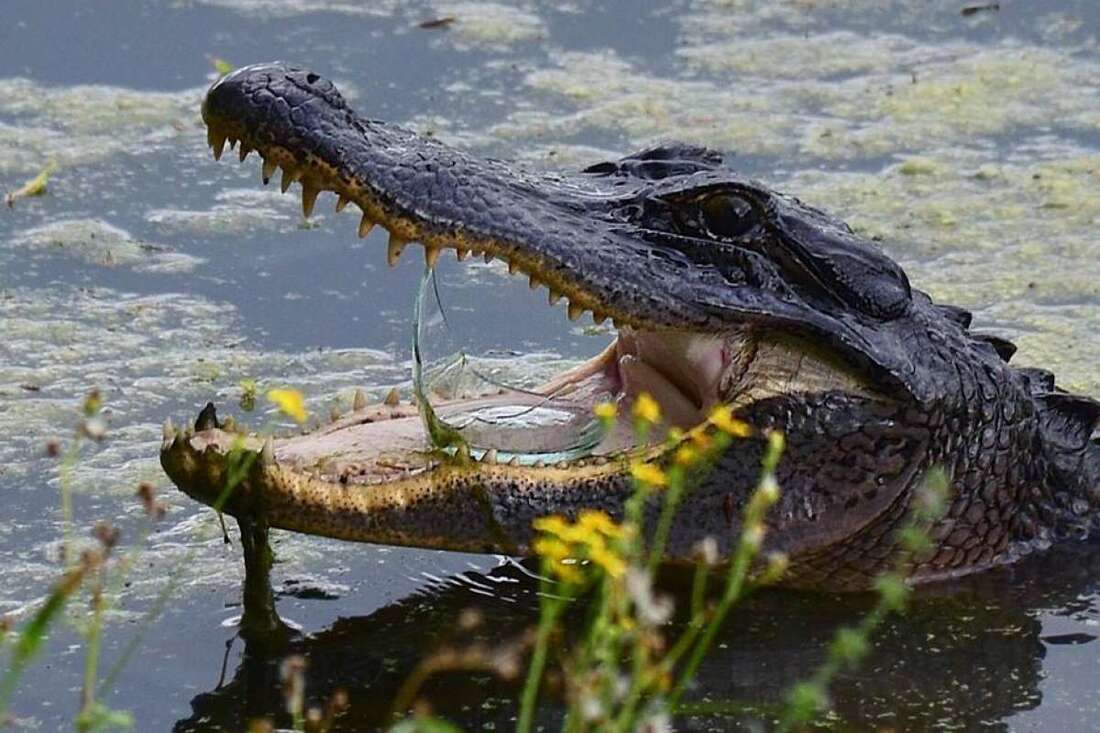
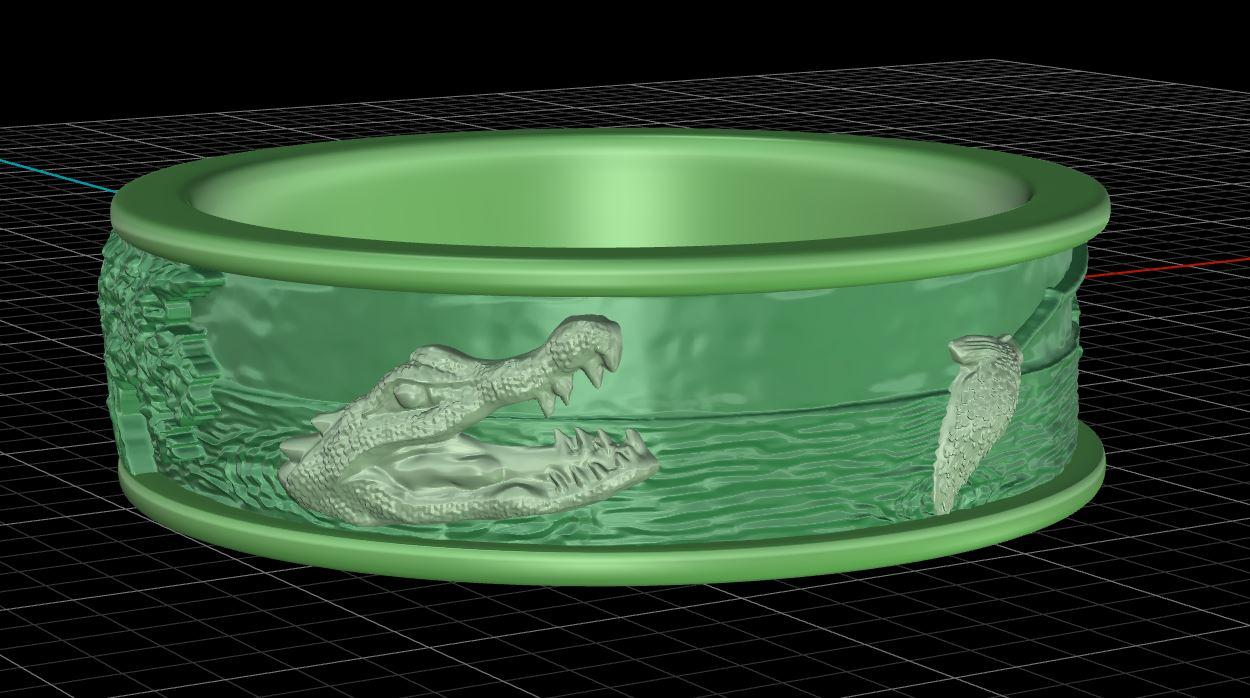
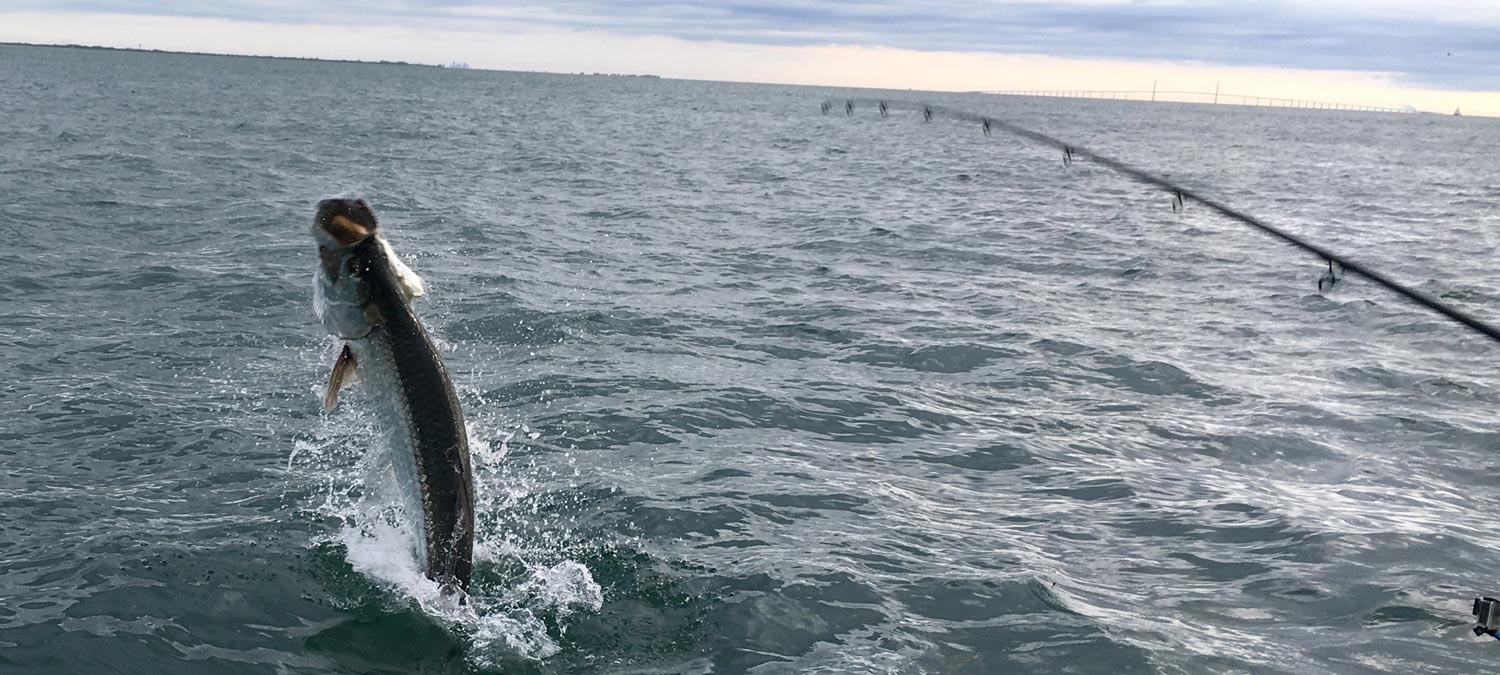
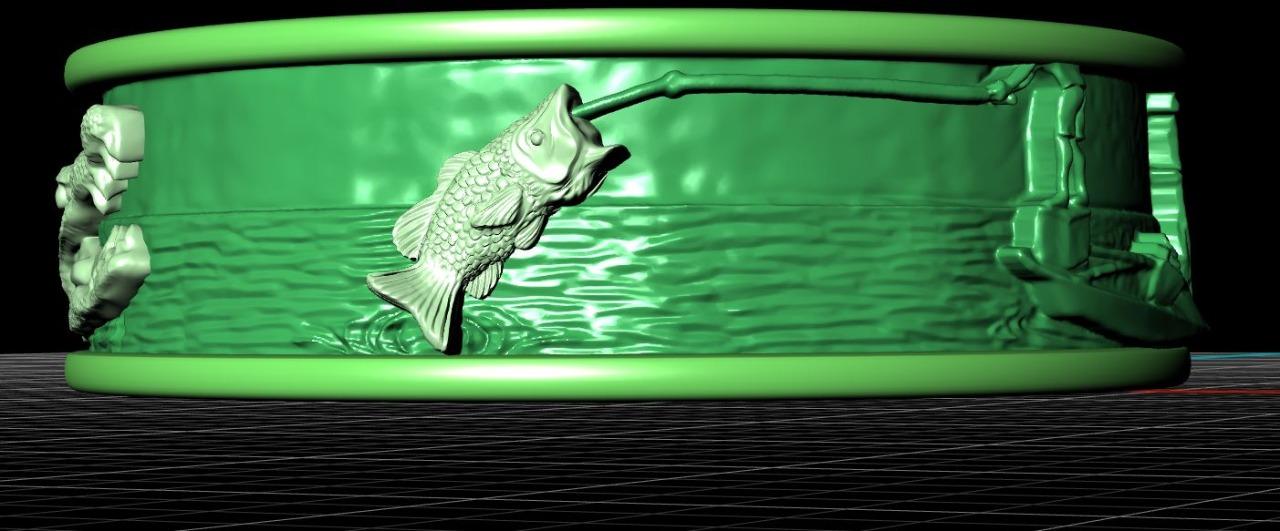
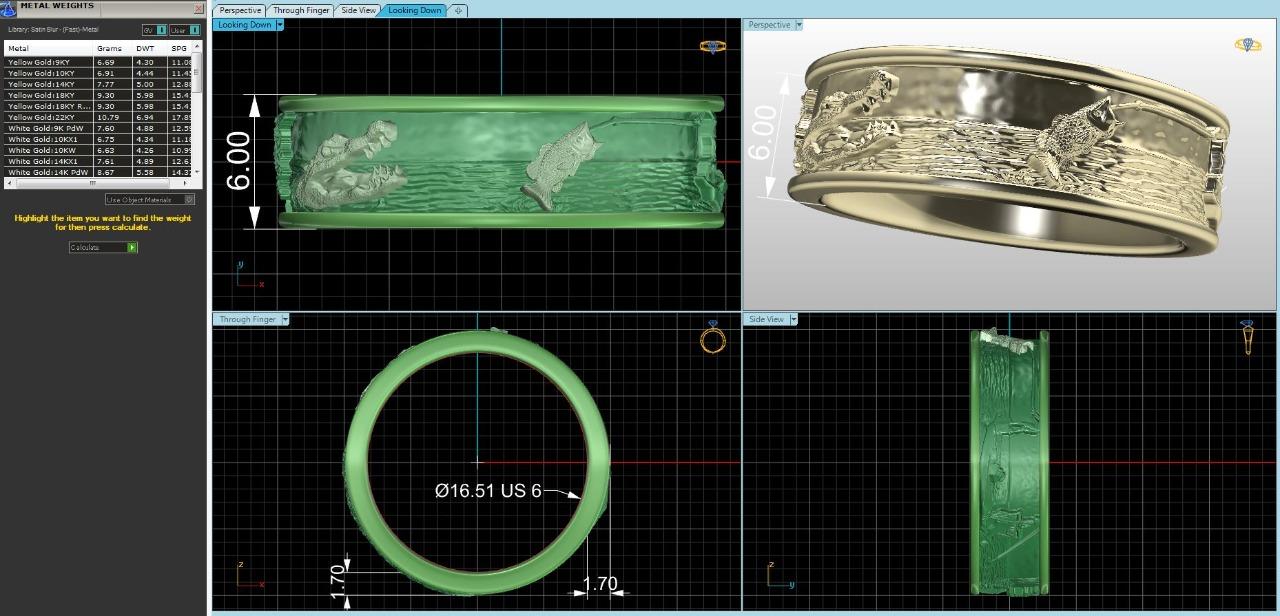
A customer requested a wedding band capturing life growing up in Everglades City, FL. She identified key elements, Fishing, Gators and mangrove trees. Finding related images, I was able to incorporate them into a ring that filled all her requests. The images shown here from the computer show side by side reference of the detail I was able to create utilizing CAD software. She was completely satisfied with the end results! Cast in Yellow Gold.
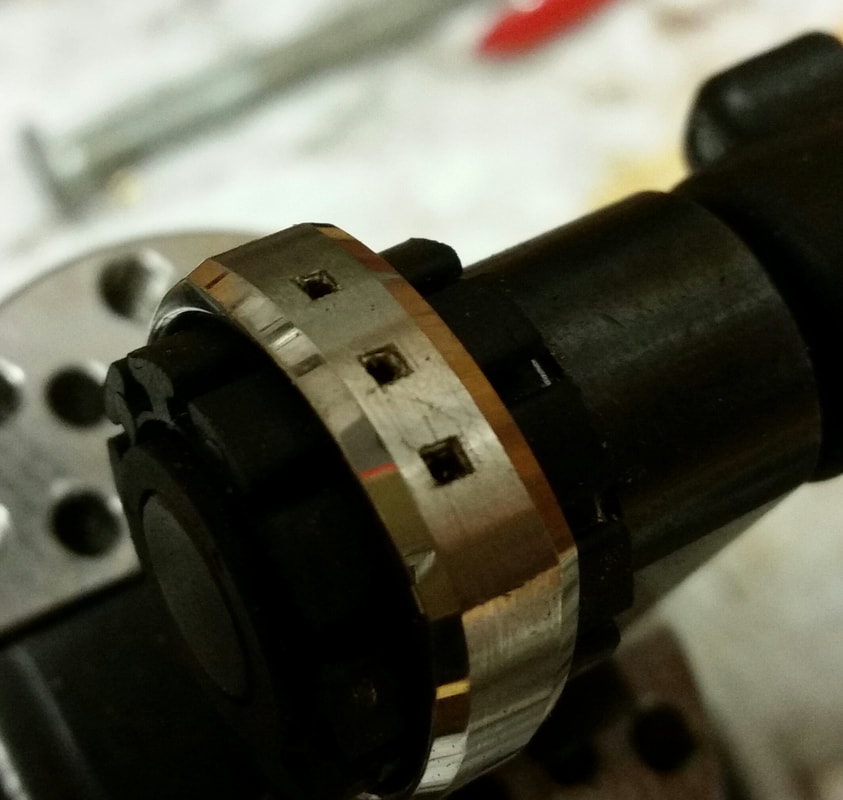
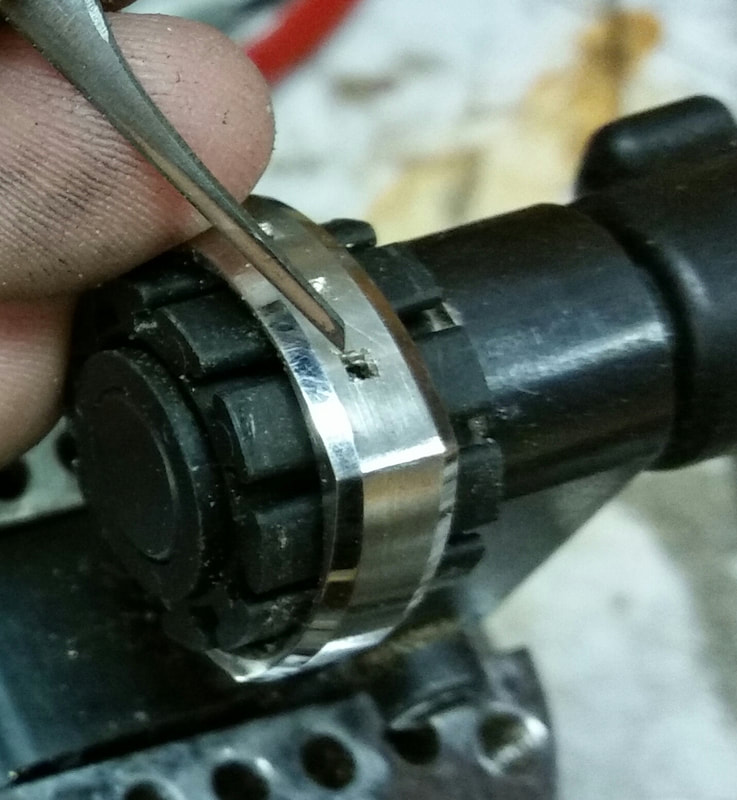
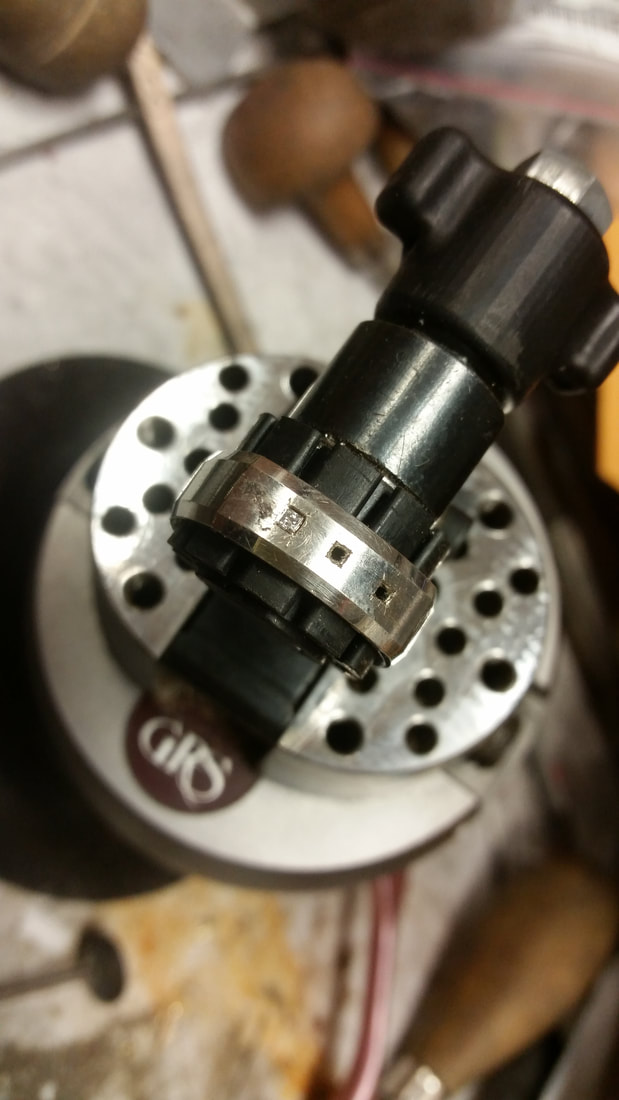
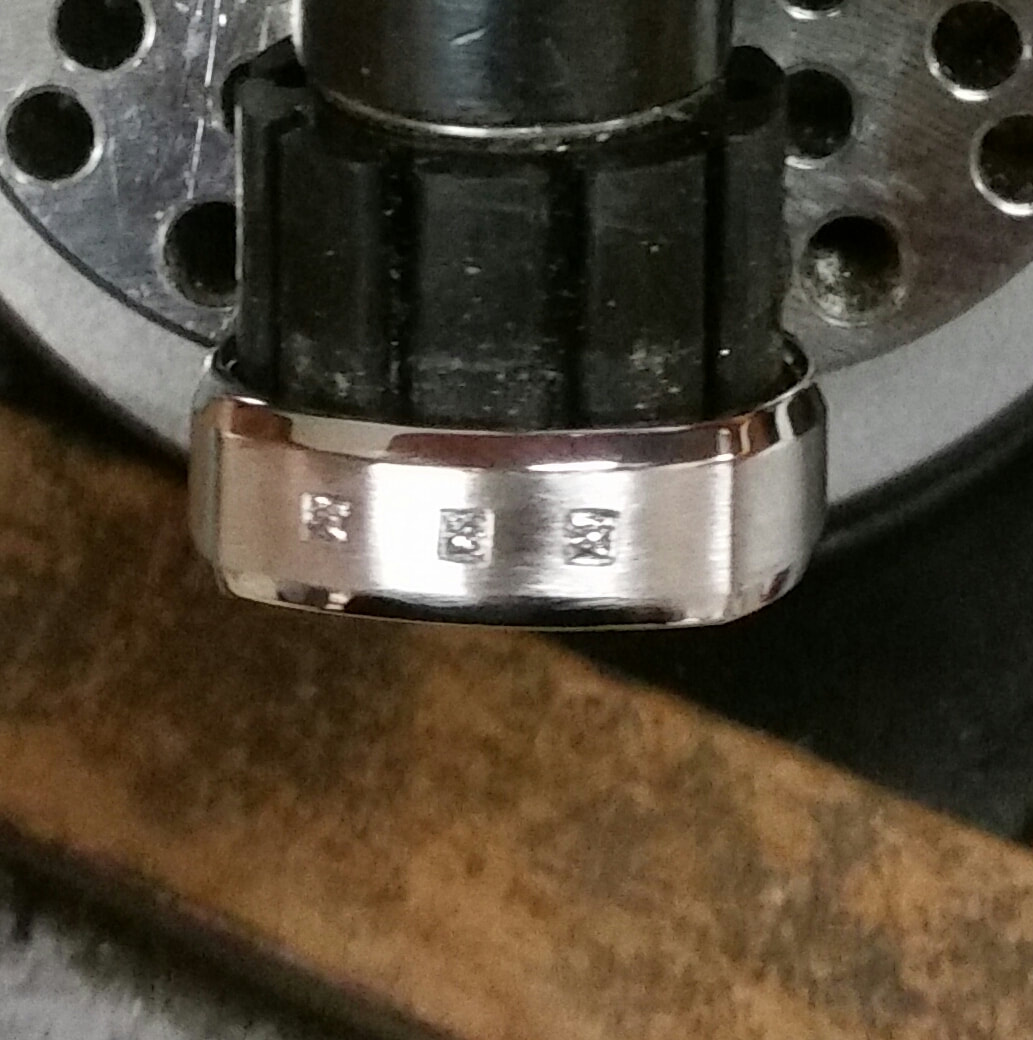
Setting square stones flush in a men's ring, I first drilled 3 round holes, squaring them off with a jewelers saw, cutting the holes smaller than the diamonds. In the second picture, you can see the graver I used to cut seats for the diamonds. I carefully fit the stones. This process takes time to get a tight fit. After making sure they are snug, I rub the metal toward the stones with a pointed carbide tool leaving a polished finished border. FINISHED!
I was commissioned to create a Guy Fawkes mask for a client to wear as a pendant. I chose to hand carve a wax model to be used in this casting method. Finding an image online, I glued it to an appropriate size block of carving wax. Rough cutting the basic shape, refining the wax with power rotary files and then a selection of carving tools. The model was hollowed to reduce weight and improve the final casting.
Using the lost wax method of casting, I embedded the model in a cylinder of casting investment. The model is burned away over a number of hours leaving a cavity in which molten silver was poured under a vacuum. Cut off, filed and polished with a variety of tools and abrasives, Balck patina applied to reveal the finished pendant. I was lucky enough to take the only class taught by Michael Dyber a few years ago. Dyber is the first American to win a carving award in Germany. We used tools that we made from common nails. Shaped with a file and impregnated with Diamond of various grits. In the photos below you can see the set up he made for us to use with a standard pendant motor we all use in the jewelry industry. There are two black onyx cabochons I carved during the class. There is also a carving of Afghanistan lapis that I carved in a shroud motif. At some point I will gold leaf the carved area of the piece. Welcome to my blog. I hope to share some insights on my creation process and insights into the jewelry business from my perspective. Having recently purchased a 3d printer, I am able to create prototypes of models created with Computer Aided Design (CAD) before the final product is realized in metal. Ensuring the final product is what you and I had intended. Its an exciting time in the industry. The technology is developing rapidly. The possibility of creating a piece of jewelry that is truly yours is closer than ever. Here is a look at how this process is used from design to model and resultant casting in gold utilizing a 3D printer. Here is an example of how a design in made in CAD. Thank you for watching. Please subscribe for more!
|
Author
MO ANDERSON
Goldsmith Jewelry Designer Creative Consultant |


MO ANDERSON DESIGN STUDIO
5600 Trail Blvd. #18, Naples, Florida
CALL 239 989 2638
[email protected]
Custom Jewelry Design By Appointment
5600 Trail Blvd. #18, Naples, Florida
CALL 239 989 2638
[email protected]
Custom Jewelry Design By Appointment